opencv图形移动
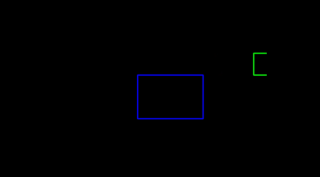
条件:实现绿色矩形框从界面最左端移动到最右端,循环不间断移动,基础代码不能大改
import cv2
import numpy as np
img=np.zeros([580,500,3],np.uint8)
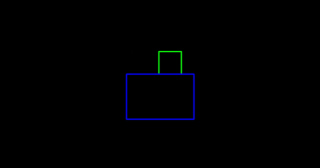
cv2.rectangle(img,(200,200),(350,300),(255,0,0),2)
cv2.rectangle(img,(150,150),(200,200),(0,255,0),2)
cv2.imshow('img',img)
cv2.waitKey(0)
cv2.destroyAllWindows()
以下答案引用自GPT-3大模型,请合理使用:
import cv2
import numpy as np
img = np.zeros([580, 500, 3],np.uint8)
x=150
while True:
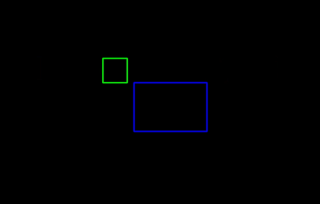
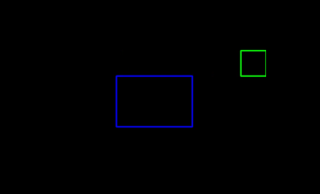
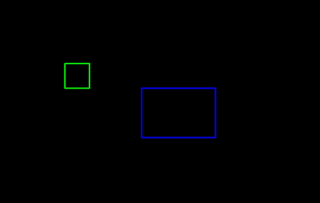
cv2.rectangle(img,(200+x,200),(350+x,300),(255,0,0),2)
cv2.rectangle(img,(150+x,150),(200+x,200),(0,255,0),2)
cv2.imshow('img', img)
if (cv2.waitKey(5)==ord('q')): break
x+=1 #循环移动步长,可以调节
if (x>350): x=150 #控制矩形框在显示区域中不间断移动
如果我的回答解决了您的问题,请采纳我的回答
<!DOCTYPE html>
<html>
<head>
    <meta charset="UTF-8">
    <title>移动矩形框</title>
    <style>
        #rectangle {
            width: 50px;
            height: 50px;
            background-color: green;
            position: absolute;
            top: 50px;
            left: 0px;
        }
    </style>
</head>
<body>
    <div id="rectangle"></div>
    <script>
        var rectangle = document.getElementById("rectangle");
        var left = 0;
        var moveRight = true;

        function moveRectangle() {
            if (moveRight) {
                left++;
                rectangle.style.left = left + "px";
                if (left >= window.innerWidth - rectangle.offsetWidth) {
                    moveRight = false;
                }
            } else {
                left--;
                rectangle.style.left = left + "px";
                if (left <= 0) {
                    moveRight = true;
                }
            }
        }

        setInterval(moveRectangle, 10);
    </script>
</body>
</html>
你看这段行不行
矩形框的初始位置设置为最左端,使用了绝对定位,通过不断改变 left 属性的值来实现矩形框的移动。使用 setInterval() 方法每隔一段时间调用 moveRectangle() 函数,该函数中判断矩形框的移动方向,并根据方向和当前位置更新 left 属性的值,直到矩形框移动到最右端或最左端,改变移动方向。
- 可以看下opencv参考手册中的 opencv any