明明都配置好了,为什么Redis连接失败
问题描述:Linux虚拟机上的Redis连接失败
问题详情:此Redis服务,可以通过Redis Desktop Manager连接,但在springboot项目中却连不上。
情况如下:
springboot项目中配置:
    <dependency>
      <groupId>org.springframework.bootgroupId>
      <artifactId>spring-boot-starter-data-redisartifactId>
    dependency>

    <dependency>
      <groupId>org.springframework.bootgroupId>
      <artifactId>spring-boot-starter-cacheartifactId>
    dependency>
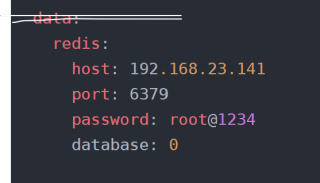
  data:
    redis:
      host: 192.168.23.141
      port: 6379
      password: root@1234
      database: 0

  cache:
    redis:
      time-to-live: 1800000
Linux系统中redis配置:
requirepass 1234
#bind 127.0.0.1 -::1
protected-mode no
Linux防火墙:

项目报错:
io.lettuce.core.RedisCommandExecutionException: NOAUTH HELLO must be called with the client already authenticated, otherwise the HELLO AUTH   option can be used to authenticate the client and select the RESP protocol version at the same time
        at io.lettuce.core.internal.ExceptionFactory.createExecutionException(ExceptionFactory.java:137) ~[lettuce-core-6.0.4.RELEASE.jar!/:6.0.4.RELEASE]
        at io.lettuce.core.internal.ExceptionFactory.createExecutionException(ExceptionFactory.java:110) ~[lettuce-core-6.0.4.RELEASE.jar!/:6.0.4.RELEASE]
        at io.lettuce.core.protocol.AsyncCommand.completeResult(AsyncCommand.java:120) ~[lettuce-core-6.0.4.RELEASE.jar!/:6.0.4.RELEASE]
        at io.lettuce.core.protocol.AsyncCommand.complete(AsyncCommand.java:111) ~[lettuce-core-6.0.4.RELEASE.jar!/:6.0.4.RELEASE]
        at io.lettuce.core.protocol.CommandHandler.complete(CommandHandler.java:742) ~[lettuce-core-6.0.4.RELEASE.jar!/:6.0.4.RELEASE]
        at io.lettuce.core.protocol.CommandHandler.decode(CommandHandler.java:677) ~[lettuce-core-6.0.4.RELEASE.jar!/:6.0.4.RELEASE]
        at io.lettuce.core.protocol.CommandHandler.channelRead(CommandHandler.java:594) ~[lettuce-core-6.0.4.RELEASE.jar!/:6.0.4.RELEASE]
        at io.netty.channel.AbstractChannelHandlerContext.invokeChannelRead(AbstractChannelHandlerContext.java:379) ~[netty-transport-4.1.63.Final.jar!/:4.1.63.Final]
        at io.netty.channel.AbstractChannelHandlerContext.invokeChannelRead(AbstractChannelHandlerContext.java:365) ~[netty-transport-4.1.63.Final.jar!/:4.1.63.Final]
        at io.netty.channel.AbstractChannelHandlerContext.fireChannelRead(AbstractChannelHandlerContext.java:357) ~[netty-transport-4.1.63.Final.jar!/:4.1.63.Final]
        at io.netty.channel.DefaultChannelPipeline$HeadContext.channelRead(DefaultChannelPipeline.java:1410) ~[netty-transport-4.1.63.Final.jar!/:4.1.63.Final]
        at io.netty.channel.AbstractChannelHandlerContext.invokeChannelRead(AbstractChannelHandlerContext.java:379) ~[netty-transport-4.1.63.Final.jar!/:4.1.63.Final]
        at io.netty.channel.AbstractChannelHandlerContext.invokeChannelRead(AbstractChannelHandlerContext.java:365) ~[netty-transport-4.1.63.Final.jar!/:4.1.63.Final]
        at io.netty.channel.DefaultChannelPipeline.fireChannelRead(DefaultChannelPipeline.java:919) ~[netty-transport-4.1.63.Final.jar!/:4.1.63.Final]
        at io.netty.channel.nio.AbstractNioByteChannel$NioByteUnsafe.read(AbstractNioByteChannel.java:166) ~[netty-transport-4.1.63.Final.jar!/:4.1.63.Final]
        at io.netty.channel.nio.NioEventLoop.processSelectedKey(NioEventLoop.java:719) ~[netty-transport-4.1.63.Final.jar!/:4.1.63.Final]
        at io.netty.channel.nio.NioEventLoop.processSelectedKeysOptimized(NioEventLoop.java:655) ~[netty-transport-4.1.63.Final.jar!/:4.1.63.Final]
        at io.netty.channel.nio.NioEventLoop.processSelectedKeys(NioEventLoop.java:581) ~[netty-transport-4.1.63.Final.jar!/:4.1.63.Final]
        at io.netty.channel.nio.NioEventLoop.run(NioEventLoop.java:493) ~[netty-transport-4.1.63.Final.jar!/:4.1.63.Final]
        at io.netty.util.concurrent.SingleThreadEventExecutor$4.run(SingleThreadEventExecutor.java:989) ~[netty-common-4.1.63.Final.jar!/:4.1.63.Final]
        at io.netty.util.internal.ThreadExecutorMap$2.run(ThreadExecutorMap.java:74) ~[netty-common-4.1.63.Final.jar!/:4.1.63.Final]
        at io.netty.util.concurrent.FastThreadLocalRunnable.run(FastThreadLocalRunnable.java:30) ~[netty-common-4.1.63.Final.jar!/:4.1.63.Final]
        at java.lang.Thread.run(Thread.java:748) [na:1.8.0_171]
网上找了好多帖子,都没有解决,卡了老半天了,好难受。
密码不对,requirepass 1234表示redis密码是1234,springboot配置文件不是这个。
你密码写错了,把 root@ 去掉就可以了

除了上面两位大佬所说的,这里还有个问题,这个data是多余的。如果配置了这个data,那程序就会连localhost的Redis,而不是配置的IP地址。
- 这篇博客: SpringBoot链接远程Redis中的 Redis可以说在项目中是刚需了,几乎都要用到。下面就很简洁的记录下在我们的SpringBoot中如何去整合Redis,以及其中过程中碰到的小问题,希望有帮助到你。 部分也许能够解决你的问题, 你可以仔细阅读以下内容或跳转源博客中阅读:
首先,在创建项目时,添加我们需要的依赖:
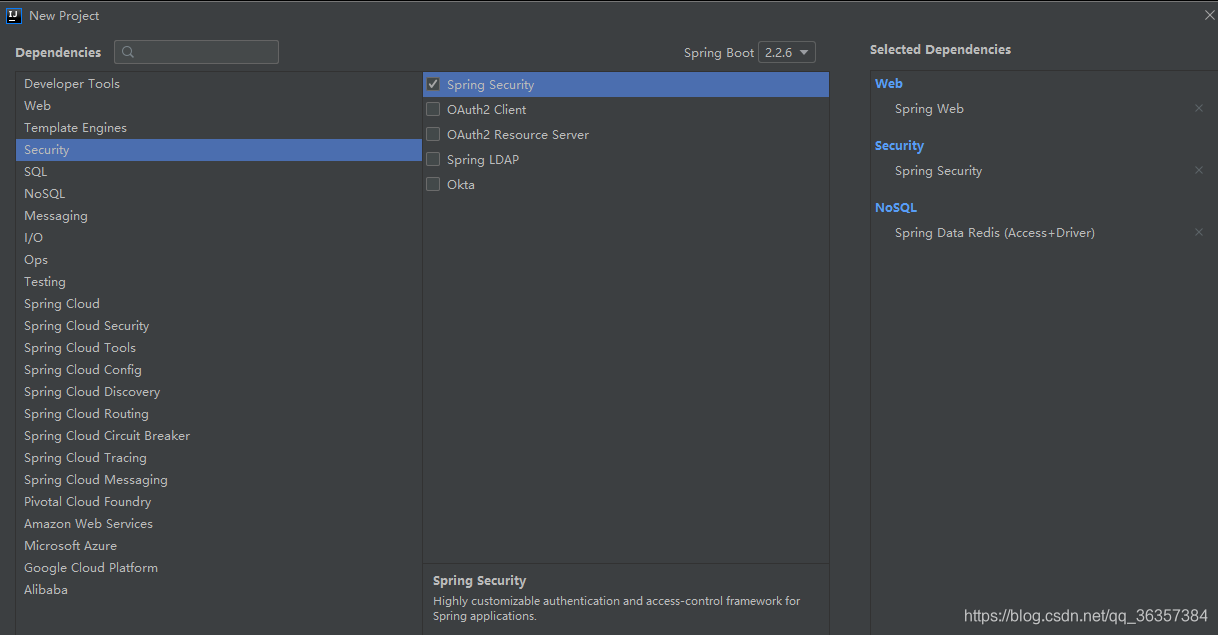
大家注意,这里添加了一个Spring Security的依赖。这是因为从springboot2.1.5开始,如果需要远程链接redis,这个依赖是必须有的。另外提一点,redis在5版本之后,如果需要远程访问,是必须设置访问密码的。下面我也会大概说一下,如果需要远程链接redis,需要做哪些设置。当项目创建成功后,我们在依赖关系中可以发现,SpringDataRedis底层的依赖是Lettuce而不是我们熟悉的Jedis;二者有什么区别呢?这里我也不知道。。。需要在CSDN中搜索一下,好奇的小伙伴也可以去自己去看看。。。
接下来,我们来写一个简单的测试类,体验一下是如何将数据存储到redis中的: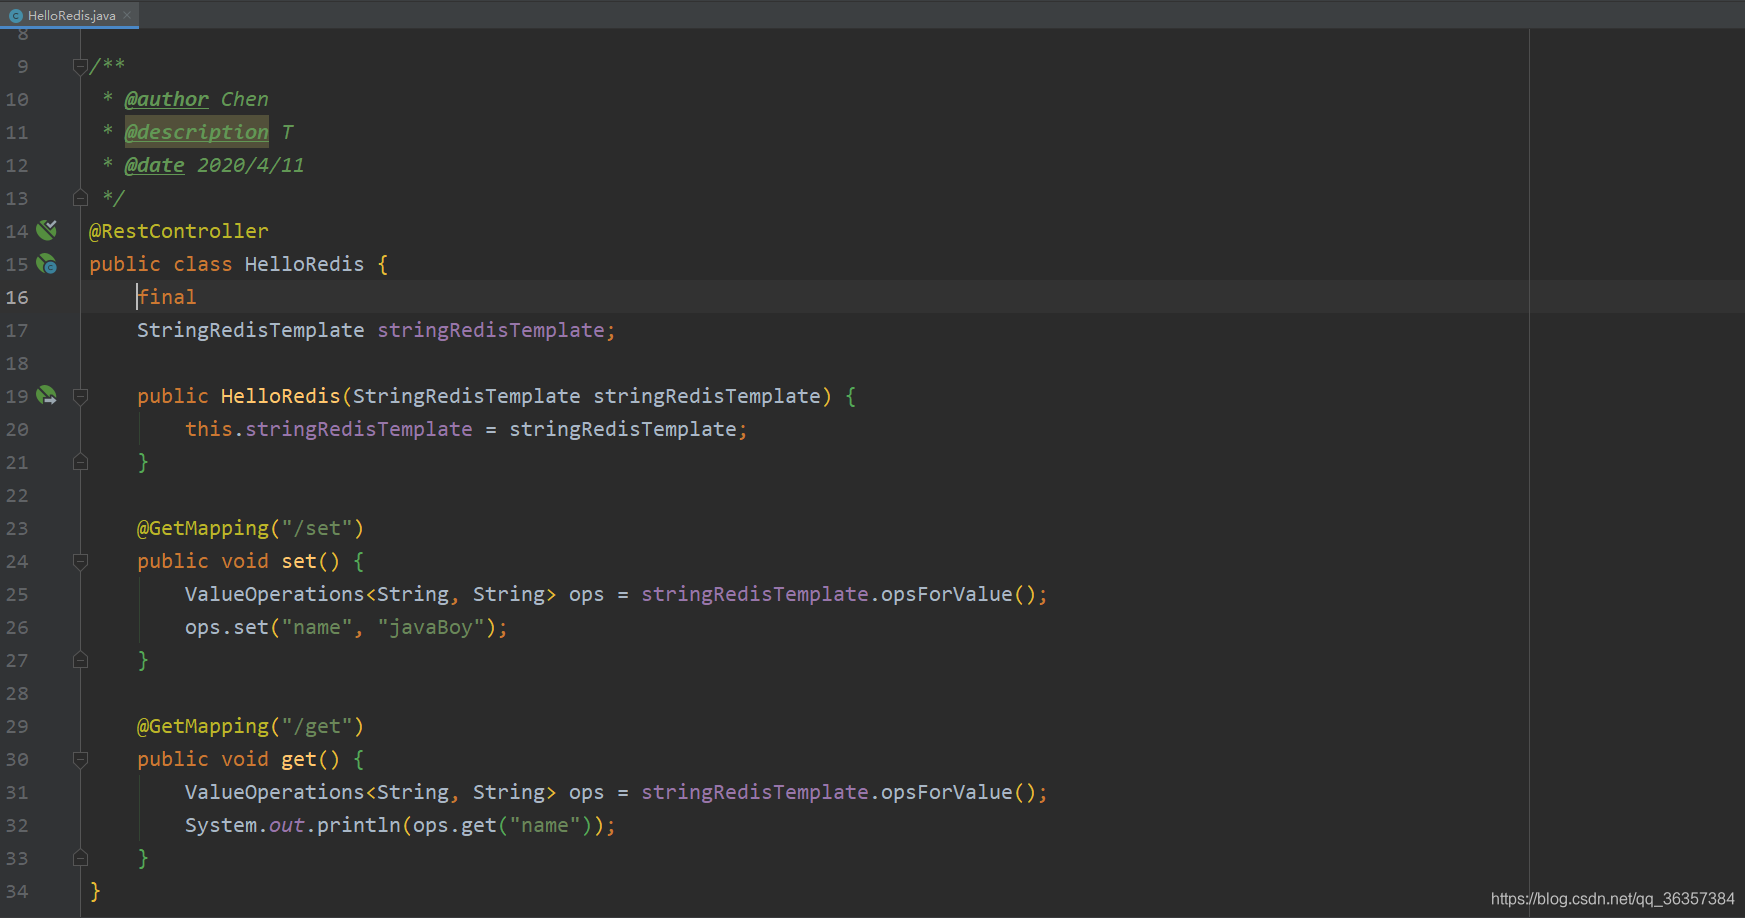
application.properties 其中需要填写自己需要连接redis所在的服务器地址和端口号、密码

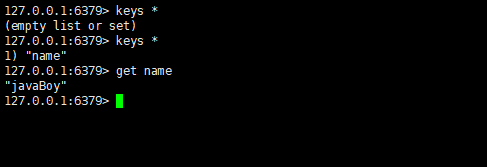
在访问前,我们先看一下远程服务器中redis中的数据,这里为了大家观看简洁已将内容清空掉。连接到Redis后执行FLUSHALL便可清理数据。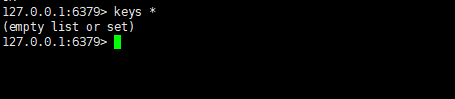
此时,我们在浏览器访问我们的项目。此时会弹出一个登录窗口,这个是之前我们添加pring Security依赖所生成的,这里暂且不讲。用户名默认user,而密码则在我们开发工具的控制台中。登陆后我们之前写好的/set接口,此时再看redis中的数据,便发现数据已经存储到了。这就证明我们这个小小的测试也算是成功了。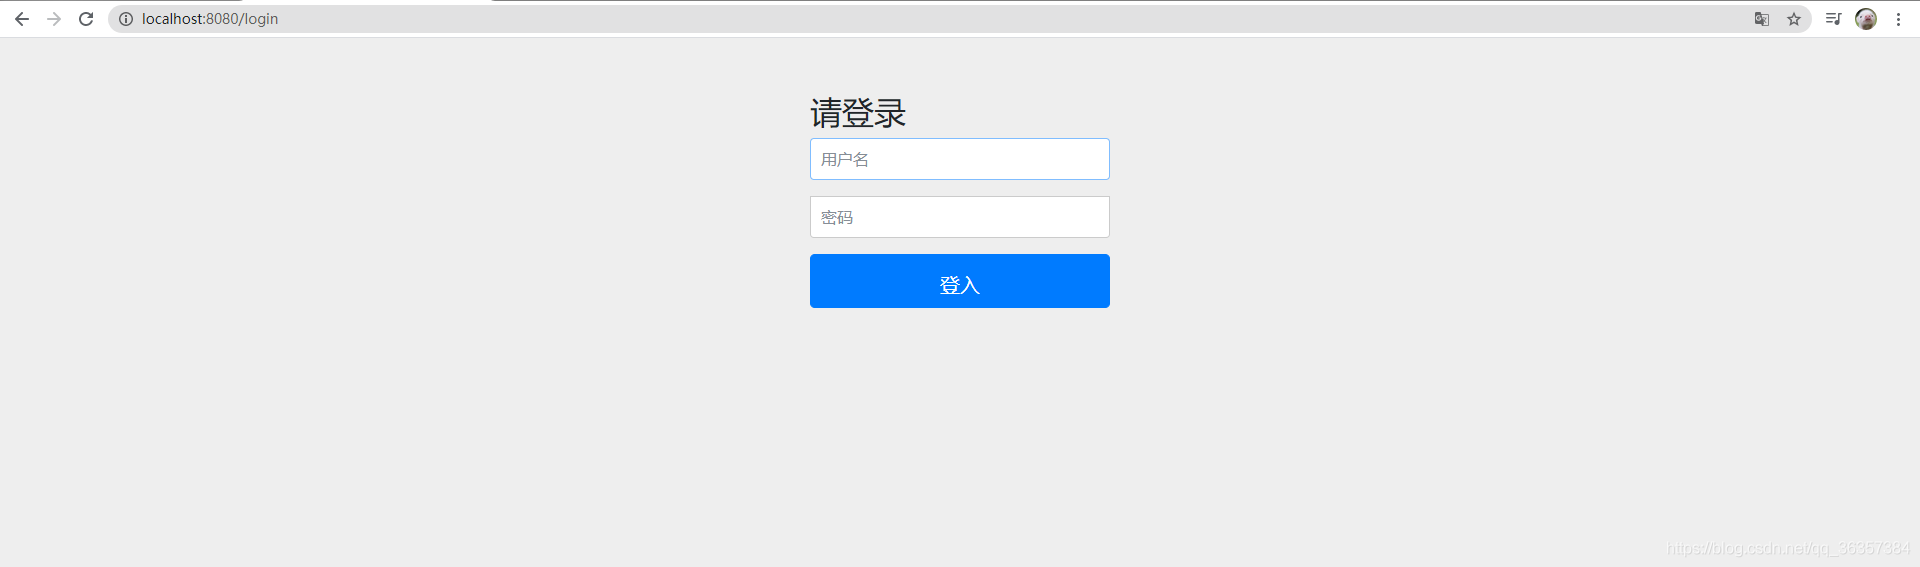
在这里小记下博主下午所遇到的坑,虽然非常小但是每一个都不可忘记!- 需要在所连接的服务器设置中打开redis端口,这里以博主的阿里云服务器实例:

- redis需要远程链接,则需要修改几个配置。这里就不一一描述了,需要的小伙伴自己动动手有很多的文章。
**
- 需要在所连接的服务器设置中打开redis端口,这里以博主的阿里云服务器实例: