yolov5detect.py运行报错
这个问题怎么解决?yolov5的detect.py运行之后报错的,所有包都安装了

pip uninstall numpy
pip uninstall pandas
pip install numpy
pip install pandas
- 这个问题的回答你可以参考下: https://ask.csdn.net/questions/7687883
- 我还给你找了一篇非常好的博客,你可以看看是否有帮助,链接:yolov5检测图片用detect.py
- 除此之外, 这篇博客: yolov5 detect文件参数解释(部分)中的 detect.py中参数解释 部分也许能够解决你的问题, 你可以仔细阅读以下内容或者直接跳转源博客中阅读:
default默认值
def parse_opt():
parser = argparse.ArgumentParser()
parser.add_argument(’–weights’, nargs=’+’, type=str, default=ROOT / ‘yolov5s.pt’, help=‘model path(s)’)
parser.add_argument(’–source’, type=str, default=ROOT / ‘data/images’, help=‘file/dir/URL/glob, 0 for webcam’)
parser.add_argument(’–imgsz’, ‘–img’, ‘–img-size’, nargs=’+’, type=int, default=[640], help=‘inference size h,w’)
parser.add_argument(’–conf-thres’, type=float, default=0.25, help=‘confidence threshold’)
#conf-thres表示置信度,default=0.25当有超过25%的可能时,显示预测框
parser.add_argument(’–iou-thres’, type=float, default=0.45, help=‘NMS IoU threshold’)
#iou-thres表示交并比,控制单个目标框的多少,default=0.45表示iou小于该阈值时当作两个框处理,default=1框与框完全重合才能合并,结果中会有多个框出现。default=0表示只要框与框有交集部分就可以合并,故结果中没有重合的框。
parser.add_argument(’–max-det’, type=int, default=1000, help=‘maximum detections per image’)
parser.add_argument(’–device’, default=’’, help=‘cuda device, i.e. 0 or 0,1,2,3 or cpu’)#设备
parser.add_argument(’–view-img’, action=‘store_true’, help=‘show results’)
#弹出显示结果,具体操作如下
parser.add_argument(’–save-txt’, action=‘store_true’, help=‘save results to *.txt’)
#保存txt格式的结果
parser.add_argument(’–save-conf’, action=‘store_true’, help=‘save confidences in --save-txt labels’)#保存置信度txt
parser.add_argument(’–save-crop’, action=‘store_true’, help=‘save cropped prediction boxes’)
parser.add_argument(’–nosave’, action=‘store_true’, help=‘do not save images/videos’)#不保存
parser.add_argument(’–classes’, nargs=’+’, type=int, help=‘filter by class: --classes 0, or --classes 0 2 3’)
#指定预测结果只显示person标签或balabala
parser.add_argument(’–agnostic-nms’, action=‘store_true’, help=‘class-agnostic NMS’)
parser.add_argument(’–augment’, action=‘store_true’, help=‘augmented inference’)#增强(效果不明显)
parser.add_argument(’–visualize’, action=‘store_true’, help=‘visualize features’)
parser.add_argument(’–update’, action=‘store_true’, help=‘update all models’)
parser.add_argument(’–project’, default=ROOT / ‘runs/detect’, help=‘save results to project/name’)#结果保存位置
parser.add_argument(’–name’, default=‘exp’, help=‘save results to project/name’)#保存结果文件名
parser.add_argument(’–exist-ok’, action=‘store_true’, help=‘existing project/name ok, do not increment’)
#如果设置这个参数,exp文件夹不会增加结果保存在指定(exp)文件夹下
parser.add_argument(’–line-thickness’, default=3, type=int, help=‘bounding box thickness (pixels)’)
parser.add_argument(’–hide-labels’, default=False, action=‘store_true’, help=‘hide labels’)
parser.add_argument(’–hide-conf’, default=False, action=‘store_true’, help=‘hide confidences’)
parser.add_argument(’–half’, action=‘store_true’, help=‘use FP16 half-precision inference’)
parser.add_argument(’–dnn’, action=‘store_true’, help=‘use OpenCV DNN for ONNX inference’)
opt = parser.parse_args()
opt.imgsz *= 2 if len(opt.imgsz) == 1 else 1 # expand
print_args(FILE.stem, opt)
return opt补充:opt打断点可以看到参数状态
参考视频:如何利用yolov5进行预测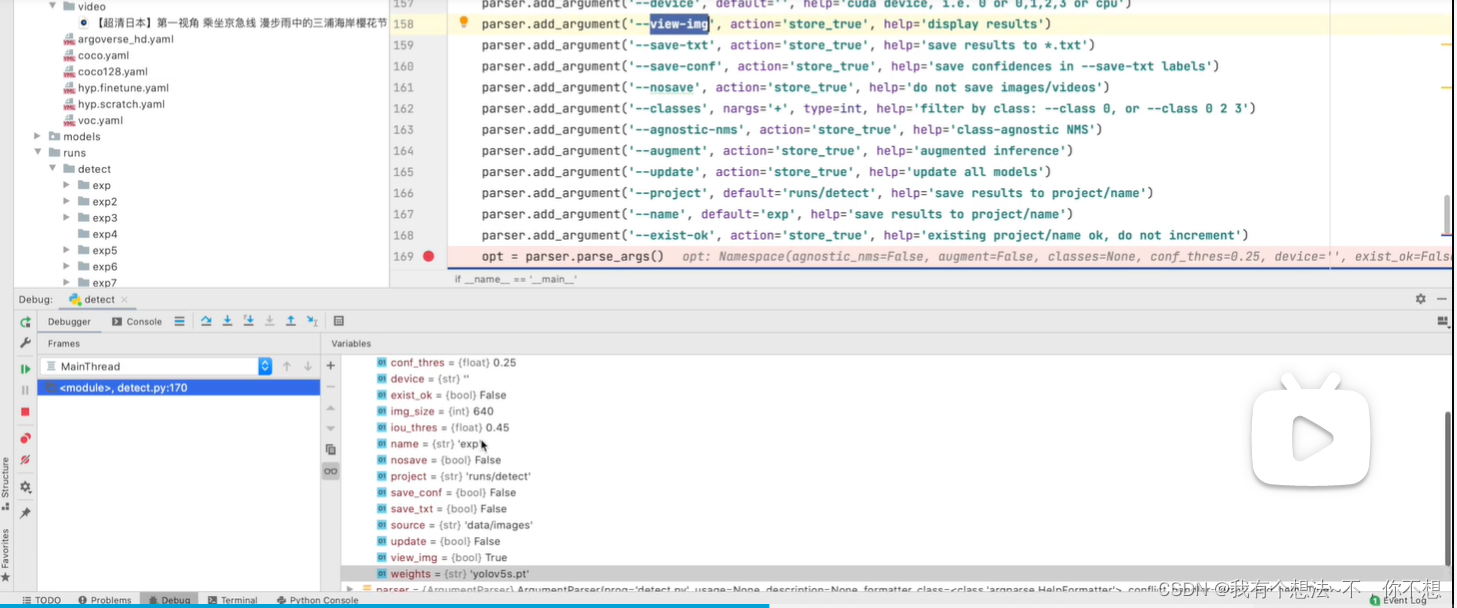
- 您还可以看一下 刘润森老师的yolov5目标检测教程课程中的 detect.py 模型测试小节, 巩固相关知识点
如果你已经解决了该问题, 非常希望你能够分享一下解决方案, 写成博客, 将相关链接放在评论区, 以帮助更多的人 ^-^